If an assessment has been assigned to the wrong patient, it can be moved to the correct patient using the Move Assessment to Another Patient option. The patient you are moving an assessment to must have an anatomical site defined before you can move the assessment.
Note that often it will be more appropriate to move the whole visit, rather than just the assessment. In which case use the Move Visit to Another Patient option.
If you need to move the assessment to another visit but the patient does not need to be changed, use the Move Assessment to Another Visit option.
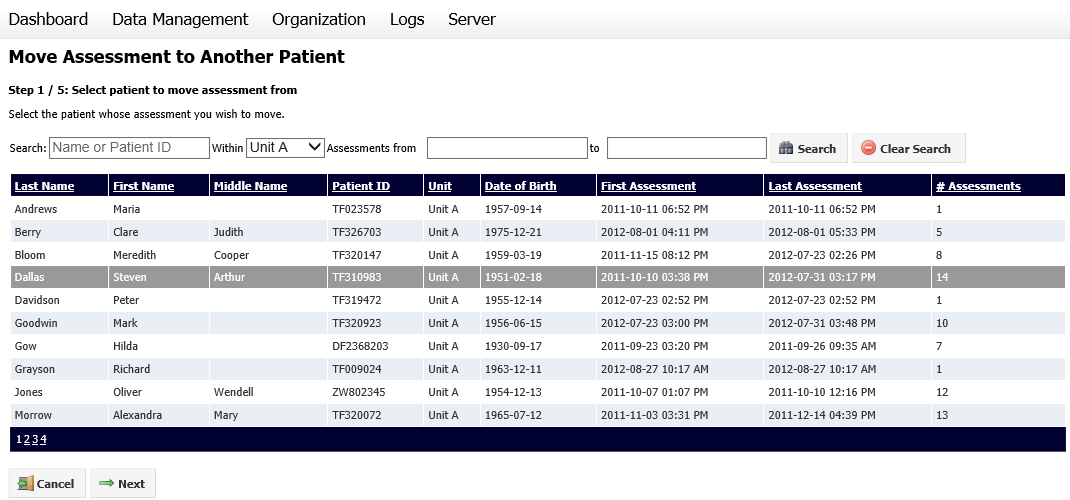
Moving an assessment to another patient involves five steps, and the process can be canceled at any time before the last step. To move an assessment to another patient, select Data Management > Assessments, then select Move Assessment to Another Patient. The first Move Assessment to Another Patient screen will be displayed:

Click on the required patient, then on the Next button. The second step will be displayed:

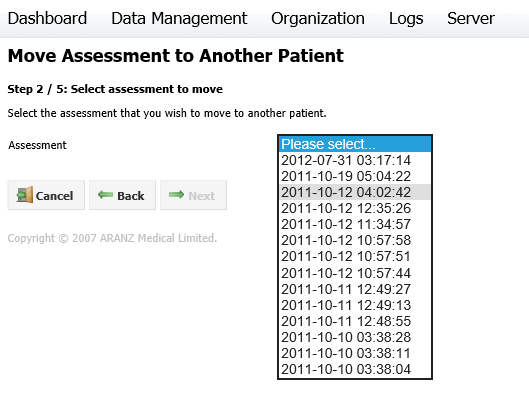
For Step 2, select the assessment you wish to move from the drop-down box, then click Next. The third step will be displayed:

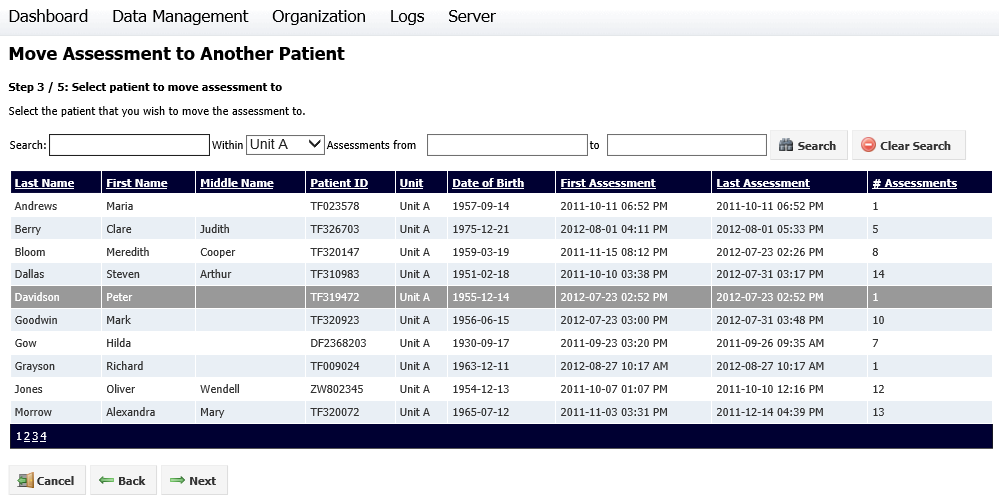
Select the patient you wish to move the assessment to. The patient chosen must have a wound defined.
Once a patient is selected, click Next to proceed to the fourth step:

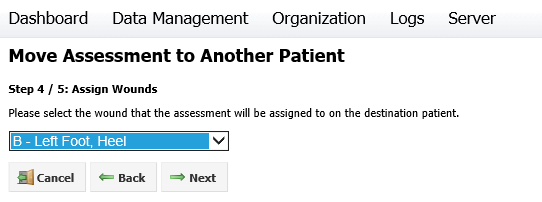
Select the wound on the patient that the assessment data will be assigned to. If a wound in the assessment being moved is a different wound from those defined for the patient, then you must first create a new wound.
Click Next to proceed to the final step. A summary of the changes made will be displayed. Click Cancel to cancel the process, Back to go back and make changes or Finish to move the assessment. Once you click Finish, you will be asked to confirm your choice.